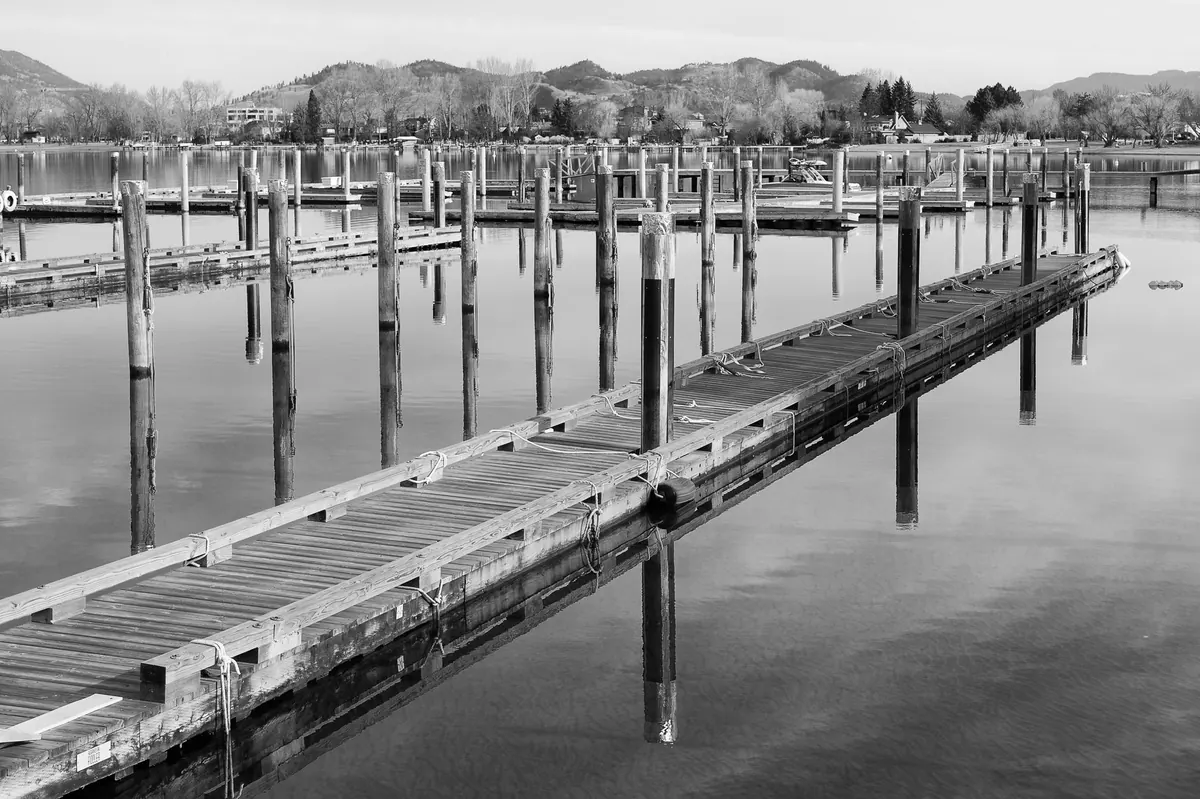
A dock does not fail all at once. It fails in small increments — a bolt that backs out a quarter turn each season, a float that takes on water through a hairline crack, a ground wire corroding quietly behind a junction box. Quarterly attention catches those increments while they are still cheap to fix. What follows is a working checklist for private docks, with notes on where saltwater and freshwater ask different things of you.
Where Salt and Fresh Water Diverge
Saltwater is hard on metal. Chloride attacks aluminum, pits stainless steel under the wrong conditions, and accelerates galvanic corrosion anywhere two dissimilar metals touch. If your dock sits in salt or brackish water, plan on inspecting fasteners, brackets, and electrical connections more often and replacing them on a shorter cycle. Marine borers such as gribbles and shipworms also go after untreated wood in warm salt water, which is why piling wraps and proper wood treatment matter more in coastal settings.
Freshwater docks mostly trade corrosion for freeze damage. Ice expansion is relentless: it lifts piles, crushes floats, and shears bolts at the deck connection. Inland lakes and rivers bring their own problems — spring runoff debris, swinging reservoir levels, and sediment that packs into hinge points and rollers.
Both environments share the same three enemies: ultraviolet light, moisture, and neglect. The quarterly rhythm below is built around them.
Spring: Walk It, Then Crawl It
Start above the deck. Walk the length at a normal pace and look for soft spots, cupped boards, popped fastener heads, and dark stains that suggest water sitting where it shouldn't. Then get underneath — by boat, by ladder, or on your hands and knees if the dock sits low.
Under the deck, work slowly and in order:
- Wood: probe stringers, joists, and the ledger where the dock meets the shore with an awl or screwdriver. If the tool sinks in easily, mark the spot with chalk and come back with a plan.
- Pilings: tap each one with a hammer. A clean ring means solid wood; a dull thud near the waterline usually means rot inside. Look for splits, checks, and worn pile wraps.
- Hardware: check every bolt, lag screw, and bracket. Tighten what moves, replace what is pitted or stretched. Rust streaks running down from a stainless bolt are a signal, not decoration.
- Flotation: look for floats sitting lower than their neighbors, which usually means waterlogged foam or a cracked shell. Inspect the seams and any place a float rubs against a stringer.
- Electrical: test every GFCI, check that cords and conduit are not chafing, and confirm that outdoor boxes are sealed. Docks sit in a wet environment, so if you are not comfortable working inside a panel, hire a licensed electrician. A mistake there is a shock hazard, not an inconvenience.
Spring is also the time to clear winter debris from around the pilings, check the shore connection for erosion, and re-hang ladders, cleats, and bumpers that came off in the off-season.
Summer: Growth, Heat, and Load
Summer is when the dock works hardest. Boat lifts, coolers, swimmers, and dock lines all concentrate force on a handful of connection points. Walk the dock after a busy weekend and look for pulled hardware, cracked brackets, and deck boards that have started to lift.
In warm water, algae and marine growth make wet decking slick. A stiff brush and a cleaner rated for your decking material handle most of it. Keep an eye on the waterline of floats and pilings too — heavy growth adds weight and hides damage. On freshwater lakes, check whether any invasive species have taken hold on floats and hulls, and clean them before moving the boat to another body of water.
Mid-summer is also a good moment to re-torque bolts that have been through a few dozen temperature swings, and to check dock lines for chafe where they pass through cleats or chocks. Replacing a frayed line costs far less than replacing a boat that broke loose in a storm.
Fall: Your Repair Window
Fall is the season to fix things, not just find them. The water is still workable, contractors are less booked than in June, and any sealant or paint you apply has time to cure before the first freeze. Handle the items you flagged in spring and summer now:
- Replace rotten boards and any fastener that showed corrosion.
- Re-bed hardware with a marine sealant so water cannot sit in the holes.
- Clean and treat wood if your decking calls for it.
- Clear debris from under and around the dock before ice forms around it.
- Photograph the whole structure from a few angles. If winter damage happens, those photos make an insurance claim much easier.
Winterizing: Remove, De-energize, Document
How you winterize depends on your water body. In a lake that freezes solid, you either pull the dock out or protect it with an aerator or de-icer and accept that ice will still move. In tidal saltwater that stays open, floating docks usually stay in place with proper mooring and adequate slack.
Whatever your setup, remove what ice and wind can destroy: ladders, hoses, solar lights, planters, loose bumpers, and anything not bolted down. Take boat lifts out of the water or lower them as your manufacturer recommends.
Then handle the electrical side. Shut the dock circuit off at the panel, test and reset GFCIs one last time, unplug and coil cords indoors, and close up outlet covers. An energized dock circuit left running through a freezing winter is a risk with no upside. Do not leave this half-done.
Finally, write down what you did and what still needs attention. A short note in your phone — "south stringer soft near piling 3" — saves you an hour of re-inspection in April.
The Quarterly Checklist at a Glance
- Spring: full inspection of wood, pilings, hardware, flotation, and electrical; clear debris; reinstall accessories.
- Summer: check connections after heavy use; clean growth and algae; inspect lines and lift hardware.
- Fall: repair flagged items; seal and re-bed hardware; photograph the structure; clear around pilings.
- Winter: remove loose gear; de-energize the circuit; secure or store the dock; log outstanding issues.
Small Habits, Long Dock Life
You do not need a formal inspection ritual to keep a dock sound. You need a habit: ten minutes with a hammer and a flashlight once a quarter, plus a willingness to fix the small thing the same week you notice it. A loose bolt tightened in May is a five-minute job. The same bolt, left alone through a winter of freeze and thaw, becomes a repair that costs a weekend.
Keep your notes somewhere you will actually find them, replace hardware with like-for-like materials rated for your water, and call a professional for anything involving wiring, structural pilings, or the seawall itself. The rest is just paying attention on a schedule.
Photo: Ejov Igor / Pexels